Active Directory is the backbone of many Windows-based networks, as it provides centralized management of users, computers, and other resources. It also integrates seamlessly with DNS, which you’ve already set up.
Why Set Up Active Directory?
- Centralized Management:
Active Directory allows you to manage users, computers, and permissions from a single location. This is essential for scalability and security. - Integration with DNS:
Active Directory relies heavily on DNS for locating domain controllers and other services. Since you’ve already set up DNS here, your server is ready to support AD. - Authentication and Authorization:
AD provides a secure way to authenticate users and control access to resources (e.g., files, printers, applications). - Group Policy:
With AD, you can use Group Policy to enforce security settings, deploy software, and configure user and computer settings across your network. - Foundation for Other Services:
Many other services (e.g., DHCP, File Services, Print Services) rely on Active Directory for proper functionality.
Step-by-Step Guide to Set Up Active Directory Domain Services (AD DS)
Step 1: Install the AD DS Role
- Open Server Manager.
- Click Manage in the top-right corner and select Add Roles and Features.
- In the Add Roles and Features Wizard, click Next until you reach the Server Roles page.
- Check the box for Active Directory Domain Services.
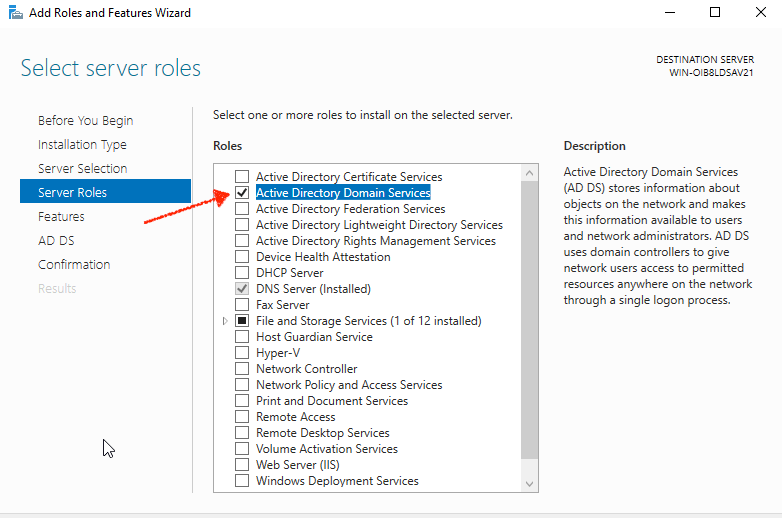
- A pop-up will appear asking to add required features. Click Add Features.
- Click Next until you reach the Confirmation page.
- Check Restart the destination server automatically if required (if prompted).
- Click Install.
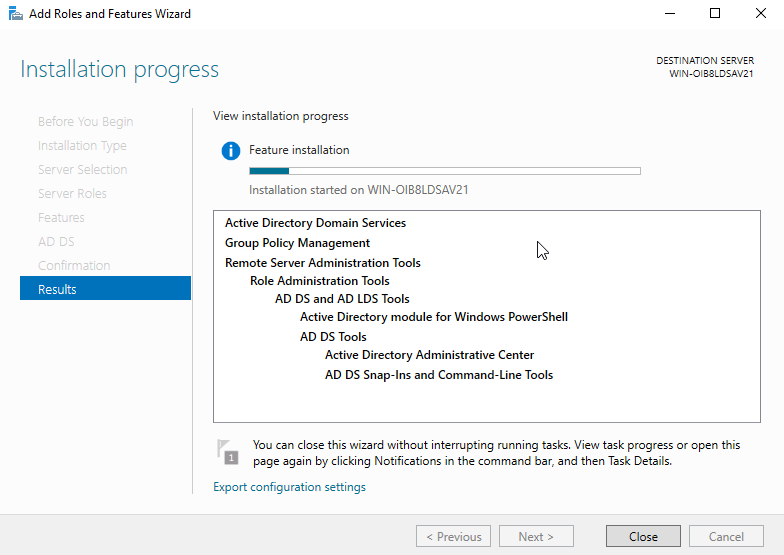
- Wait for the installation to complete, then click Close.
Step 2: Promote the Server to a Domain Controller
- In Server Manager, click the Notifications flag in the top-right corner.
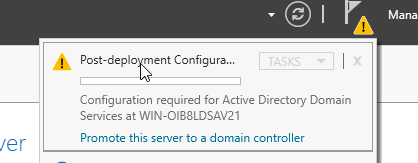
- Click Promote this server to a domain controller.
- In the Active Directory Domain Services Configuration Wizard, select Add a new forest and enter your root domain name (e.g.,
myblog.local).

- Click Next.
- Set the Forest Functional Level and Domain Functional Level to Windows Server 2022 (or the appropriate level for your environment).
- Enter a DSRM (Directory Services Restore Mode) password and click Next.
- Review the DNS Options page (if your DNS server is already set up, this should be fine otherwise you can follow this guide) and click Next.
- Accept the default NetBIOS domain name and click Next.
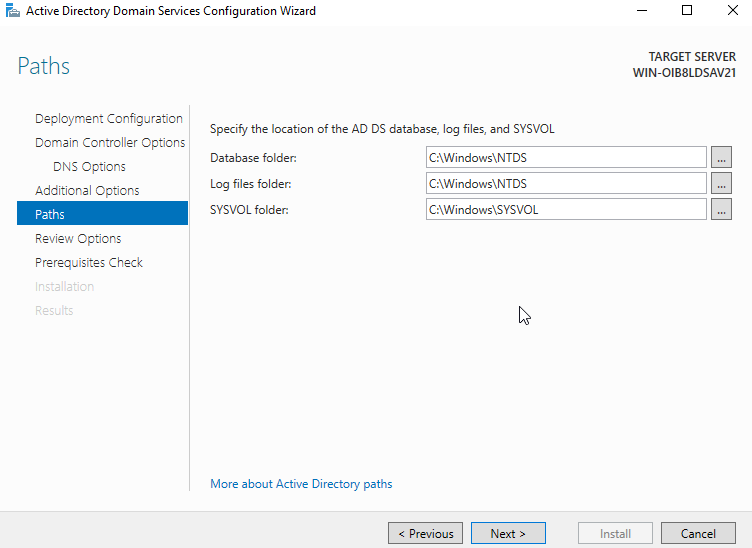
- Specify the paths for the AD database, log files, and SYSVOL folder (defaults are usually fine) and click Next.
- Review the Prerequisites Check page. If everything is okay, click Install.
- The server will restart automatically to complete the promotion process.
Step 3: Verify Active Directory Installation
- After the server restarts, log in with your domain administrator account (e.g.,
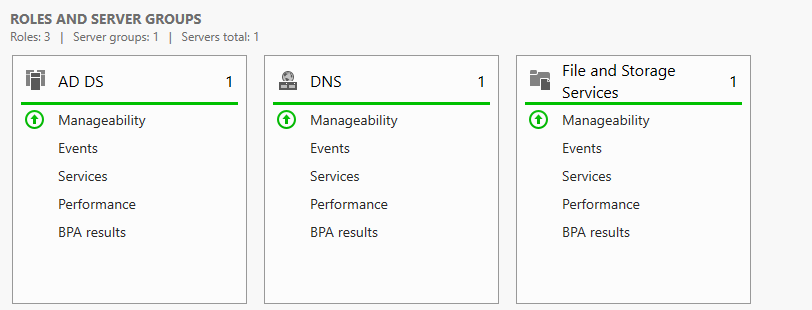
MYBLOG\Administrator). - Open Server Manager and confirm that AD DS is listed under Roles.
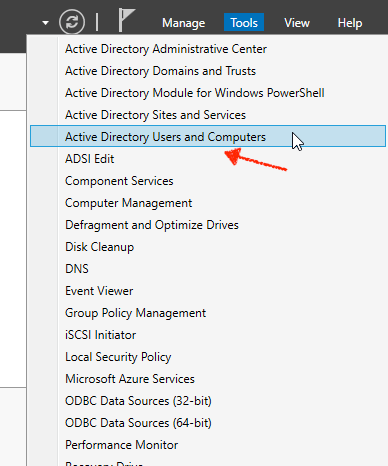
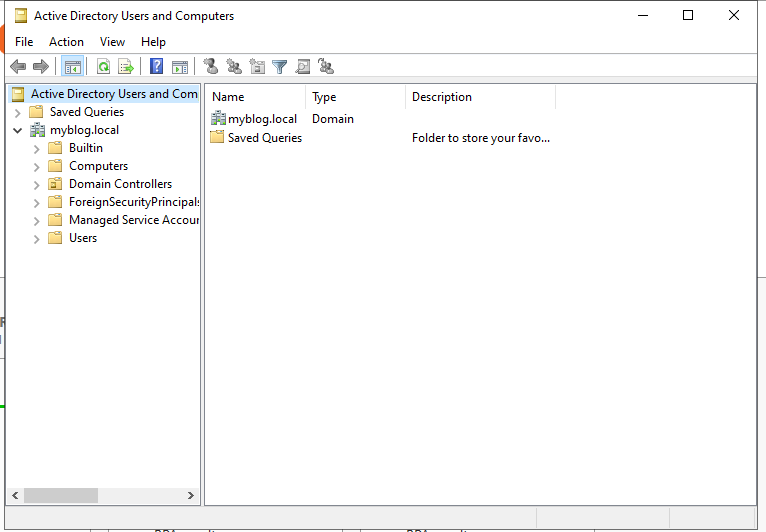
- Open Active Directory Users and Computers (from the Tools menu in Server Manager) to verify that the domain structure has been created.
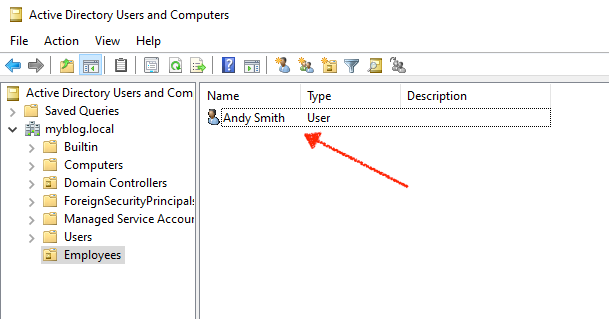
Step 4: Create Users and Organizational Units (OUs)
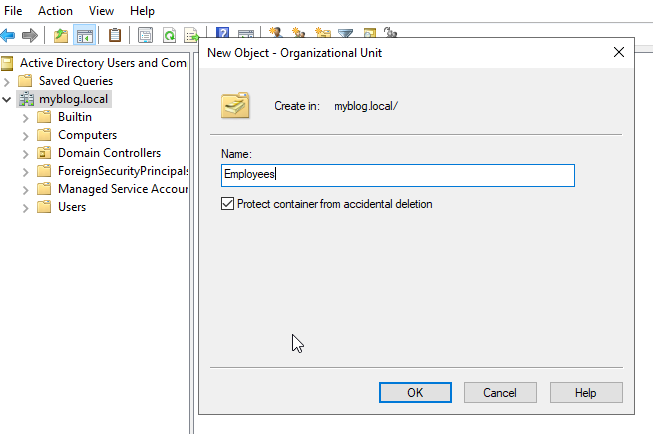
- In Active Directory Users and Computers, right-click your domain (e.g.,
myblog.local) and select New > Organizational Unit. - Name the OU (e.g.,
Employees) and click OK.
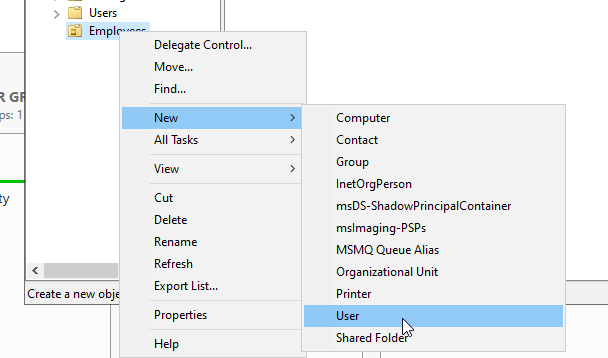
- Right-click the new OU and select New > User.
- Enter the user details (e.g., first name, last name, username) and click Next.
- Set a password and configure password options (e.g., “User must change password at next logon”).
- Click Finish to create the user, and we have our first USER.